Infrared hotspots are a known problem with converted cameras. Some lenses are more prone to it than others (See a relevant discussion here, and a list of lenses with their relative performance here). Certainly in smaller converted cameras, it’s a persistent problem when the light hits the lens at certain angles, and mostly when used on its widest setting.
Sometimes, the hotspot effect is not obvious, until you try and convert the IR shot to a faux-colour one, by swapping channels (here I’m using the Khromagery Faux-Colour actions in Photoshop 5 – the link to the file seems to be broken, but the site is still on)
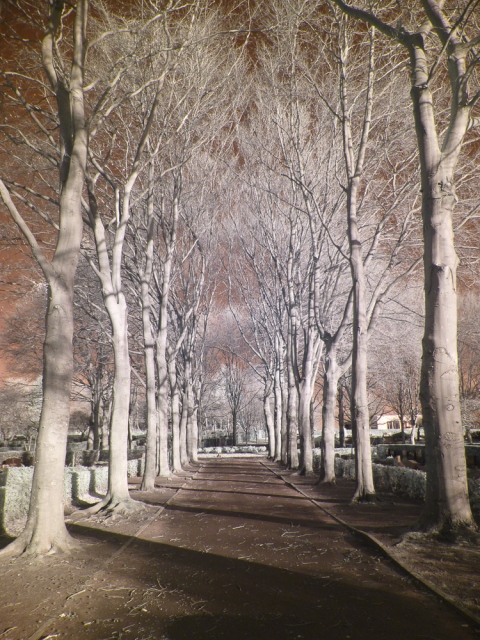
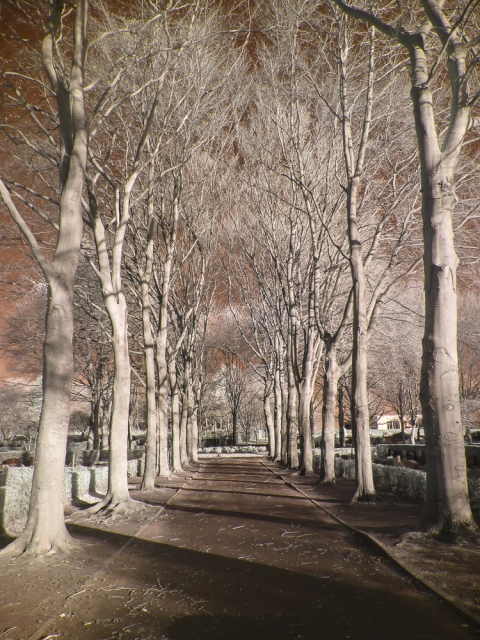
Here is the original unprocessed shot…
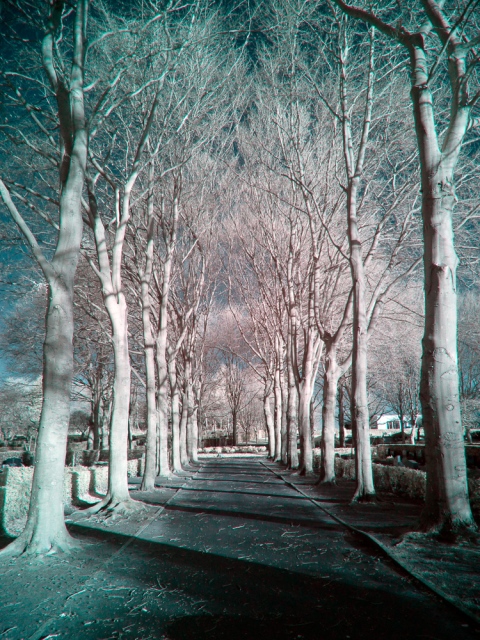
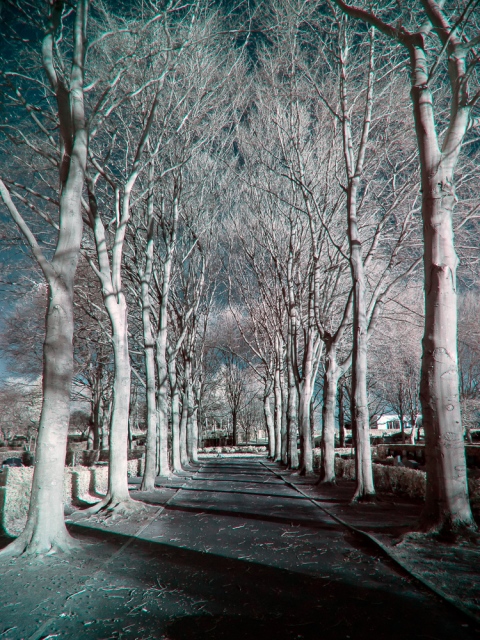
… the hotspot is not too distracting, but look what happens after swapping channels. The hotspot becomes a lot more obvious:
Hotspots however are quite easy to fix, if you are using Adobe Lightroom 5 and above.
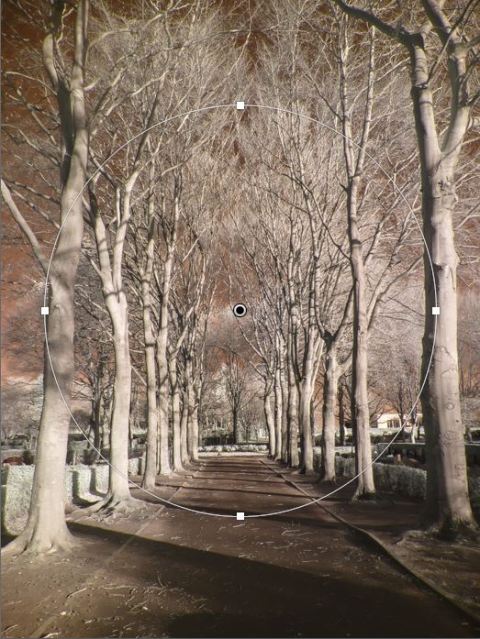
On the Development panel, select the Radial Filter tool (5-th, just before the adjustment brush), and make a selection around the hotspot area. Be generous on your selection as the hotspot usually goes further than you can see.
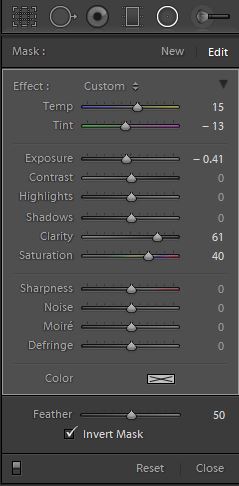 On the Radial Filter settings panel, make sure that you tick the Invert Mask box, so that you are processing the area inside the selection, rather than outside.
There are three main adjustments you need to make on that panel. The exact settings will vary depending on your picture and the strength of the hotspot, but the basics remain the same:
Exposure: Reduce the Exposure until the density of the area seems consistenet with the rest of the picture
Clarity: Increase Clarity to remove the “haze” that the hotspot creates, and if you need to adjust the Saturation to match the colour contrast of the rest of the picture.
White Balance: Hotspots tend to create a blue-ish tint to the area. A very slight Temp adjustment towards the yellow and a slight Tint adjustment towards the green, seems to correct that.
Now start from the top and fine tune again. Experiment. Sometimes increasing the contrast may also help balancing out the hotspot.
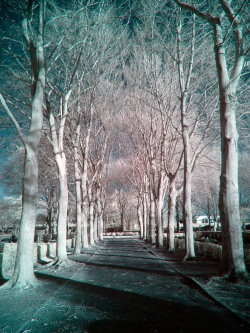
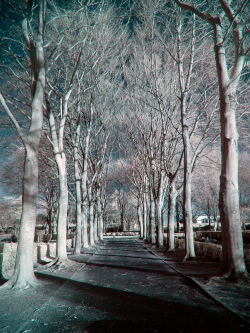
This is the same shot, with the hotspot recovered using the settings above:
The same Khromagery conversion now. produces a much more acceptable file:
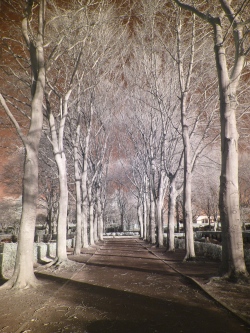
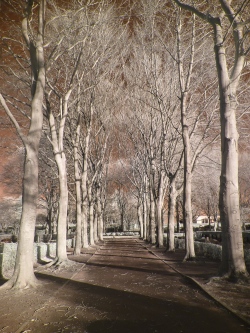
A side-by-side comparison shows the difference more clearly:
Please leave me a comment and let me know if this technique works for you, or if you have any suggestions for improvements.


Thank you!
LikeLiked by 1 person
You’re a genius sir. Many many thanks.
LikeLiked by 1 person
You are welcome! Glad it helped.
George
LikeLike
Just ran across your article here George…..your before & after examples looks great.
I have a Manual Canon FD 17mm UWA from back in film days that hot spots in the more open apertures on a LifePixel 665 converted Sony NEX-7…(my only lens that hot spots)
I happen to have Lightroom 6 so I’ll take a few test shots and give your suggestion a try.
Thank you for sharing your experience like this…very unselfish of you.
LikeLike
Thank you very much for your kind words. Let me know how it works out.
LikeLike
Glad to have come across this post. A lot of help for starters in IR photography. However, I added and used the dehaze function in LR. Thanks!
LikeLike
Thanks. I must try that, I’m only using LR 5.7
LikeLike
Thank you very much. It works well will LR6, and it is the easy way to create preset for each lens.
LikeLike
That has been very helpful so thank you so much.
LikeLike